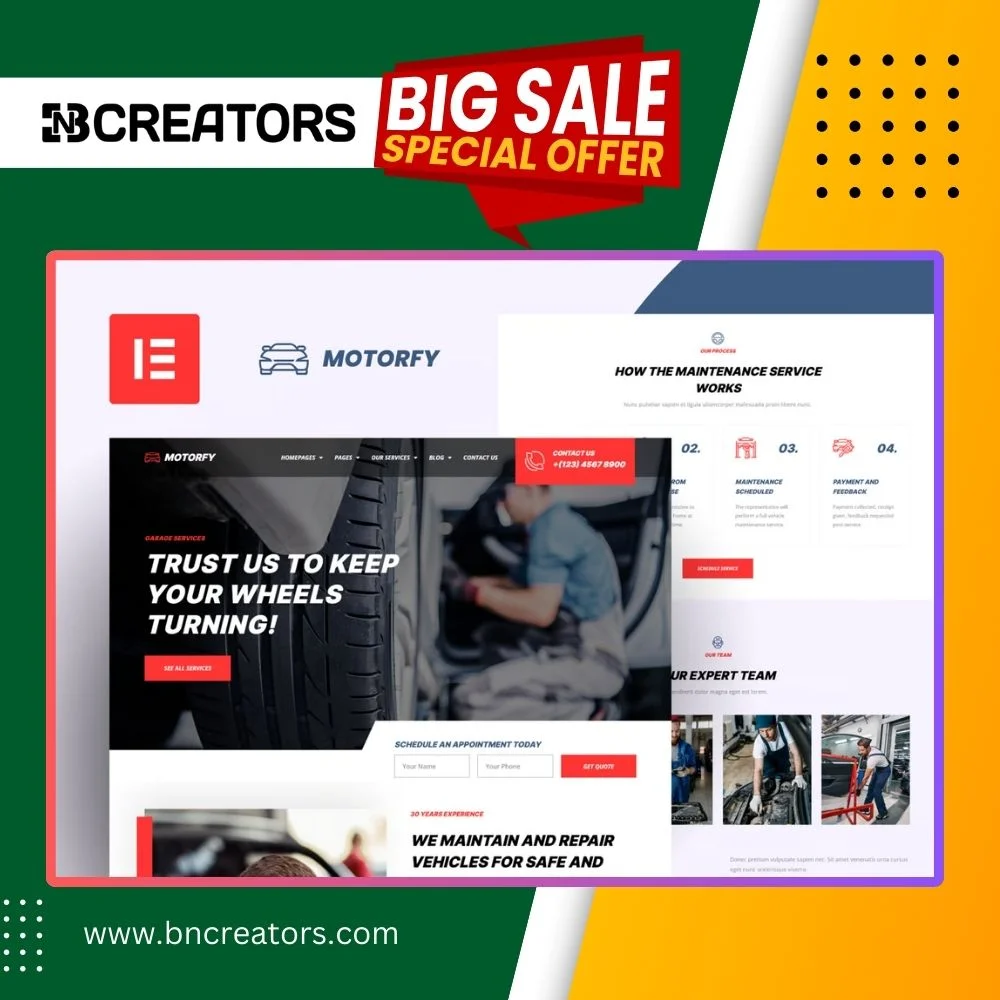
Remons – Car Rental Template Kit is a modern and clean Elementor Template Kit ideal for all agencies whether you are a car rental, bike rental, yacht rent, online booking, car listings, car directory websites and businesses.
It is created with a clean and modern design aesthetic, and it includes a slew of tools and features that make it simple to display showcase your fleet of vehicles in style with captivating image galleries and interactive car listings.
This template has a professional design with a 100% responsive layout, is retina-ready, and is incredibly easy to edit because it is built with Elementor, which means you don’t need to write a single line of code!
### Required Plugins :
- Elementor (Free)
- Themesflat Addons For Elementor (Free)
- MetForm
- ElementsKit Lite
### Kit Key Features:
- 03 Home page uniqe
- Car Listings & Directory Website
- No Coding Knowledge
- Fully with Elementor free version ( Elementor Pro is not required )
- Header & Footer Builder Included
- Unique and Modern Style.
- Super Clear and Clean Layout
- Cross browser compatible
- Support Post Widget
- Support Carousel Slide Box ( Create sliders with anything )
- Ultra Responsive and Retina Ready
- Compatible with most WordPress themes
- Optimized for search engines
How to Use Template Kits:
- Install and Activate the “Envato Elements” plugin from Plugins > Add New in WordPress. You do NOT need an Envato Elements subscription to use this plugin to install kits.
- Download your kit file and Do not unzip it! If you have Safari, ensure “open safe files after downloading” is not enabled in preferences.
- Go to Elements > Installed Kits and click the Upload Template Kit button. You may also import automatically by clicking Connect Account to link your Elements subscription, then import under Elements > Template Kits.
- Check for the orange banner at the top and click Install Requirements to load any plugins the kit uses
- Click import on the Global Kit Styles first
- Click Import on one template at a time. These are stored in Elementor under Templates > Saved Templates.
- Go to Pages and create a new page and click Edit with Elementor
- Click the gear icon at lower-left of the builder to view page settings and choose Elementor Full Width and hide page title
- Click the gray folder icon to access My Templates tab and then Import the page you’d like to customize.
Detailed Guide: https://help.market.envato.com/hc/en-us/articles/900000842846-How-to-use-the-Envato-Elements-WordPress-Plugin-v2-0
For further support, go to Elementor > Get Help in WordPress menu.
How to Import Metforms If you have Elementor Pro, skip install of Metform and form blocks.
- Import the metform block templates
- Import the page template where the form appears and right-click to enable the Navigator
- Locate and select the Metform widget and click Edit Form. Choose New, then Edit Form. The builder will appear
- Click ‘Add Template’ grey folder icon.
- Click ‘My Templates’ tab.
- Choose your imported metform template, then click ‘Insert’ (click No for page settings).
- Once the template is loaded, make any desired customizations and click ‘Update & Close’ The form will appear in the template
- Click Update
Setup Global Header and Footer in ElementsKit If you have Elementor Pro, headers and footers may be customized under Theme Builder.
- Import the header and footer template
- Go to ElementsKit > Header Footer and click Add New (if prompted with a wizard, you may click Next through it without taking any action)
- Title the header, leave Entire Site selected and toggle Activation to On
- Click the gray Edit Content button to load the builder
- Click the gray folder icon and select the header template to import, select your menu in the nav element and click Update.
- Repeat for Footer


